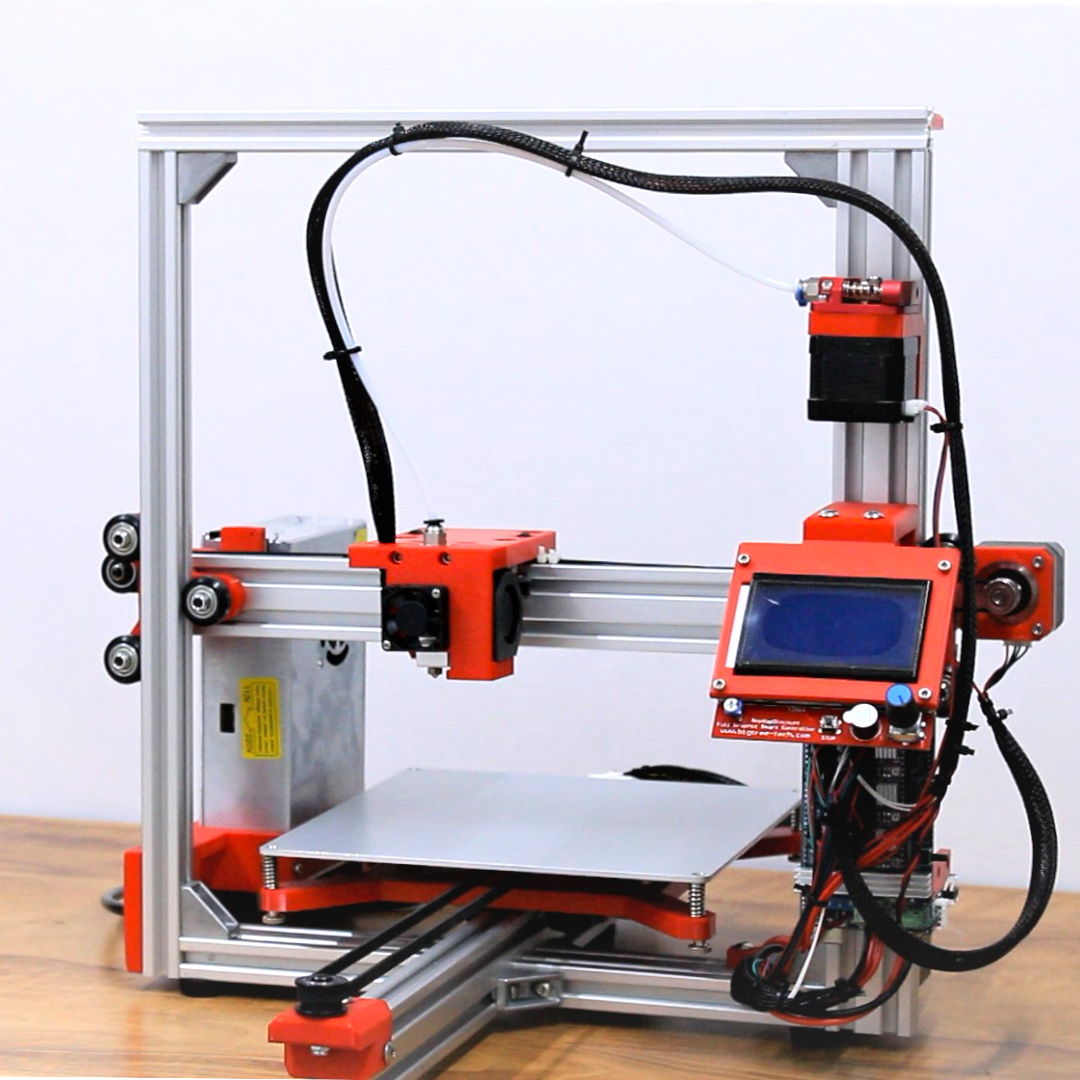
In this part we are going to configure the firmware for our 3d printer.
Youtube Video
Firmware Setup
We are using the Marlin Firmware, which is a widely used open source firmware. but before uploading the firmware to the arduino, we need to configure the firmware for our printer, in order to run our printer properly.
download the marlin firmware V2.0 from the marlin firmware website.
unzip the compressed package, open marlin 2.0 folder and run marlin.ino in the Arduino IDE
go to the configuration tab here we can make the changes we want according to our 3d printer

Line 493, change temp sensor bed value to 1
Line 822, change endstop inverting to true for x y and z axis
Line 854, change driver type to DRV8825, for x y and z axis
Line 865 change driver type to DRV8825
Line 920, change default axis steps per unit to (160,160,1600,192)
Line 955, change acceleration values to 700 and jerk values to 7.0
Line 1324 change invert e0 dir to true
Line 2088, uncomment SD support to enable SD Card
Line 2347 uncomment to enable the display
we will require the u8glib library for the display, download the library and place it in the libraries folder in documents > arduino.
https://github.com/olikraus/U8glib_Arduino
now our firmware is ready to be uploaded. connect the arduino via USB cable. select the COM port and the board as arduino mega and upload the code. now this may take a while and once done a message shall appear as done uploading. in the next part we will see how to run it for the first time and print and object for the first time.
in the next blog, we will set our printer to run it for the first time
Part 1: DIY 3D Printer Part 1
you can also follow the project on youtube
Youtube: Playlist