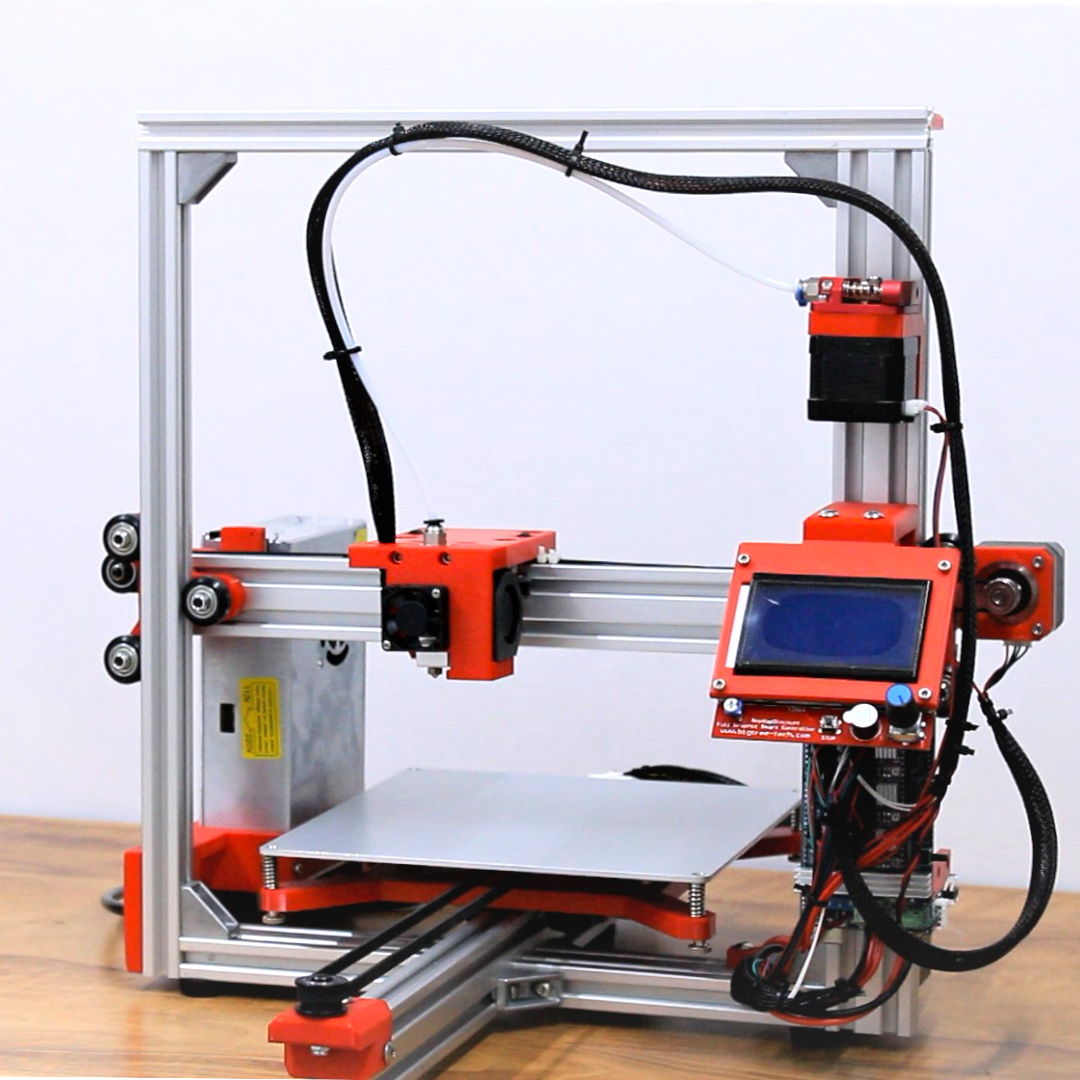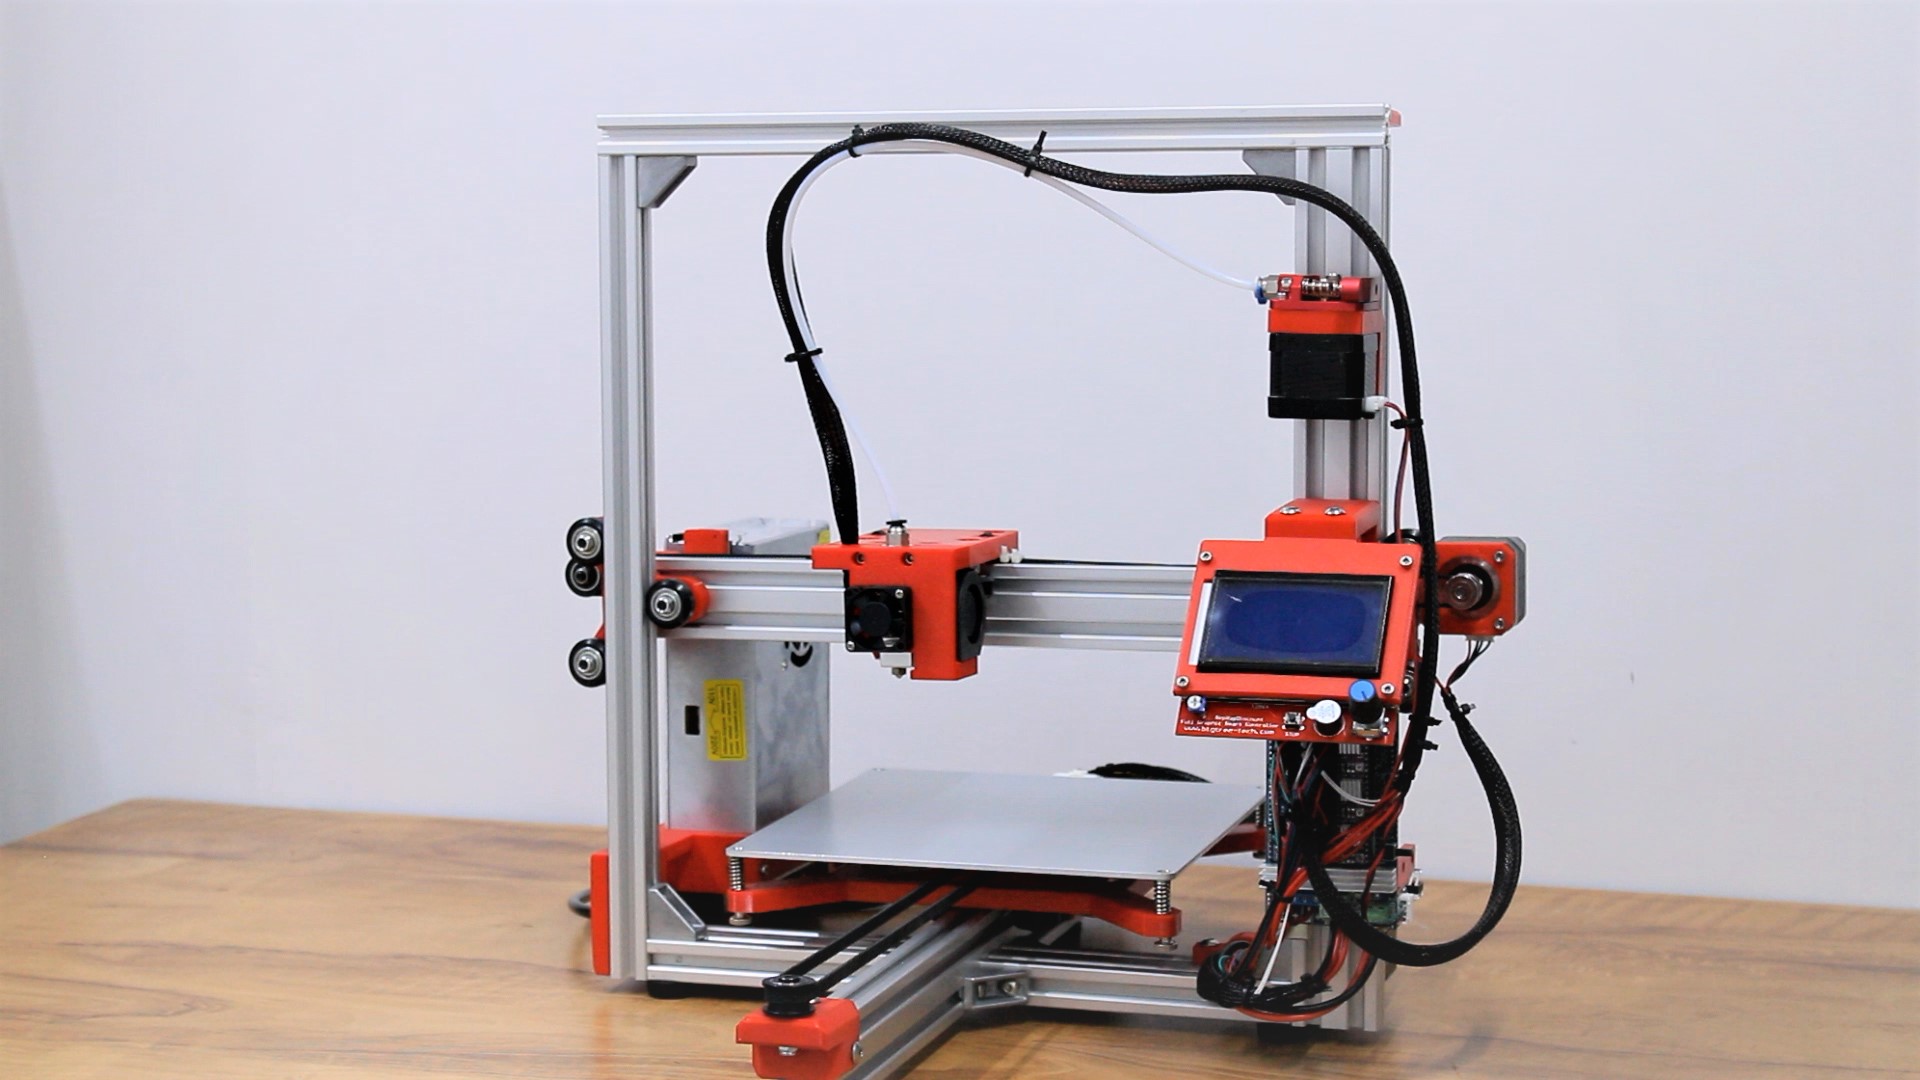
hi. in this blog i have shown the detailed process of assembling our DIY 3d printer. in the first part i have shown how to assemble the frame for our 3d printer.
Part 1: DIY 3D Printer Part 1
Part 3: DIY 3D Printer Part 3
you can also follow the project on youtube
Youtube: Playlist
full video can be found on our youtube channel
the frame which we are using is made of V-Slot Aluminium Extrusion profiles, of 20x20mm and 20x40mm size.
each piece is cut precisely to length. the lengths are as follows:
20x20mm Aluminium V-Slot Profile –
- 380mm x 1 piece
- 400mm x 1 piece
20x20mm Aluminium V-Slot Profile –
- 150mm x 2 pieces
- 400mm x 3 pieces

along with the profiles we will require 90 degree external corner brackets, m5x10mm bolts and sliding nuts to join the profiles together.
we will require:
- corner bracket x 8 pcs
- m5x10mm bolt x 16 pcs
- m5 sliding nut x 16 pcs

take one 400mm 20×40 profile and mark it at 145mm from the end. this is the length upto which we will attach our 150mm profiles

attach the profiles at a right angle using the brackets
do the same for the other side, and slide the brackets in the main profile.
place it in such way that the profile meets our marking.

tighten the allen bolts and rotate the profile.
place the 2040 400mm profile on the right side and 2020 400mm profile on the left side , both vertical,
and fix them using the corner brackets.

place the 2020 380mm profile on the top and fix it using corner brackets

install the rubber feet under the frame so that the frame does not scratch the surface of the desk.

tilt the frame and attach the rubber feet to the ends of the frame, and tighten the allen screws.

place the frame upright, and we are done assembling the frame.

check the next part for the mechanical assembly.
Parts Link:
Full frame Set: https://superbtech.in/product/3d-printer-frame/
Rubber Feet Set: 4Pcs Rubber Feet Set for 2020 Extrusion Profile 3D Printer CNC Frame