
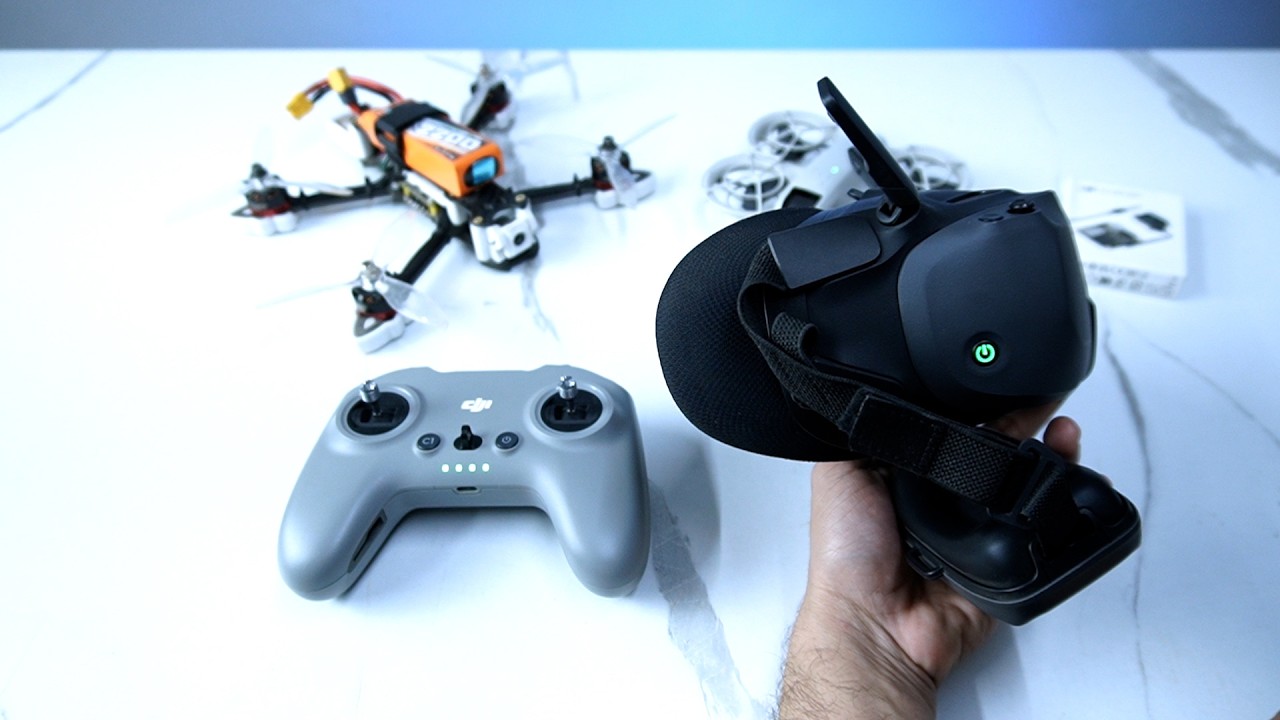
If you ask three drone pilots whether you should build an Analog or Digital FPV quad in 2026, you will get three passionate arguments. Analog purists will preach rock-bottom latency and ₹3,000 video transmitters; digital pilots will tell you that once you fly in 1080p, looking through an analog goggle feels like watching a 1980s tube television through a snowstorm.
For years, the decision was bottlenecked by one brutal reality: cost. High-end digital goggles easily soared past ₹55,000 to ₹70,000, forcing most newcomers straight into budget analog gear.
With the arrival of the DJI Goggles N3, the O4 Air Unit Lite, and the integrated DJI FPV Remote Controller 3, that price equation has fundamentally shifted. In this guide, we break down real-world latency, tree-branch visibility, Betaflight wiring gotchas, and how modern digital stacks up against open systems like Walksnail Avatar and classic 5.8GHz analog.
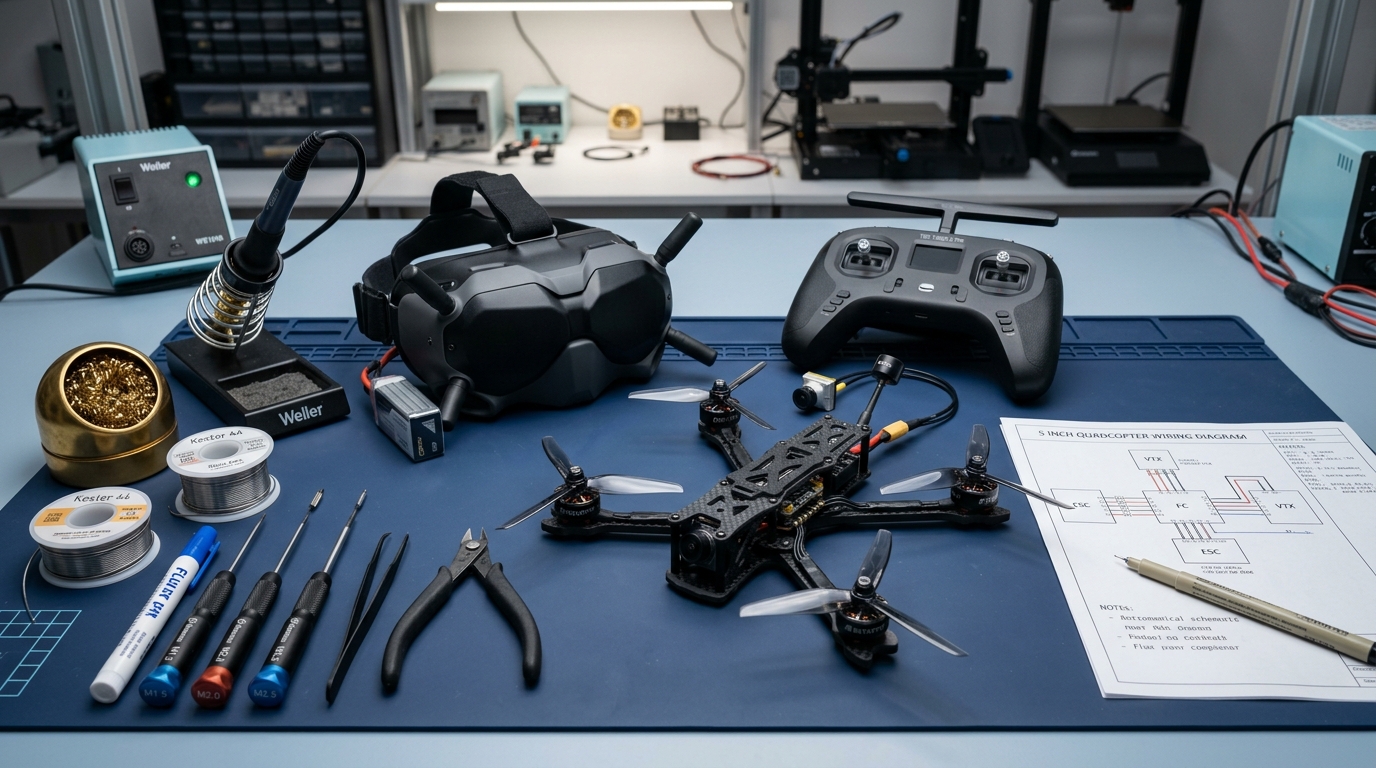
Watch our hands-on linking guide: bind the drone to the DJI Goggles and Remote Controller in seconds.
Open on YouTube →🌲 The Visual Difference: Can You Actually See the Branches?
The single greatest hazard in freestyle and park flying is the dreaded "ghost branch"—a thin, leafless twig that blends invisibly into analog static until your props shatter against it at 70 km/h.
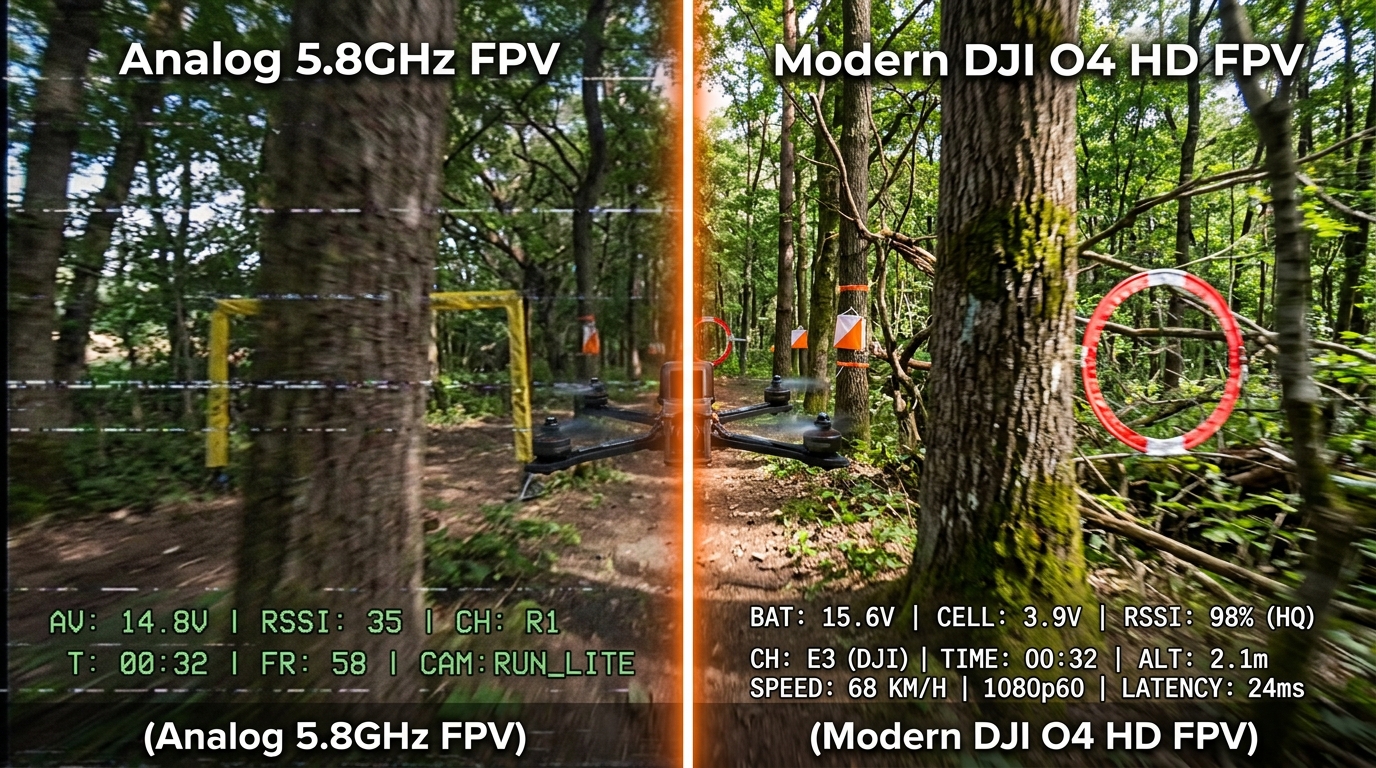
1. Analog 5.8GHz (Left Side)
- How it behaves: Uses continuous frequency modulation (NTSC/PAL). When signal degrades behind obstacles, it introduces horizontal lines, color flashing, and grey static fuzz.
- The advantage: Graceful degradation. You never get a sudden freeze or frame drop; your brain can still "fly through the static" even when 70% of the picture is noise.
- The downside: Limited to roughly 480i resolution. Spotting telephone wires, small twigs, or distant race gates requires experience and guesswork.
2. DJI O4 Digital (Right Side)
- How it behaves: Uses advanced H.265 compression over dual-band 2.4GHz / 5.1GHz / 5.8GHz frequencies with adaptive bitrates up to 60Mbps.
- The advantage: 1080p crystal clarity at 60fps or 100fps. You can count individual pine needles, spot fence lines from 100 meters away, and enjoy rich cinematic color saturation directly in your goggles.
- The downside: In extreme penetration scenarios (behind reinforced concrete), digital doesn't get snowy—it lowers resolution (variable bitrate) or introduces micro-stutter if packets drop.
📊 The 2026 FPV System Shootout
Here is how the four major FPV transmission protocols currently compare across resolution, latency, weight, and flight characteristics:
| System | Resolution | Average Latency | Breakup Style | Typical VTX Weight | Best Use Case |
|---|---|---|---|---|---|
| Analog (5.8G) | 480i / NTSC | 15 - 25 ms (Fixed) | Gradual static / snow | 4g - 12g | Tinywhoops, bando beaters, ultra-budget builds |
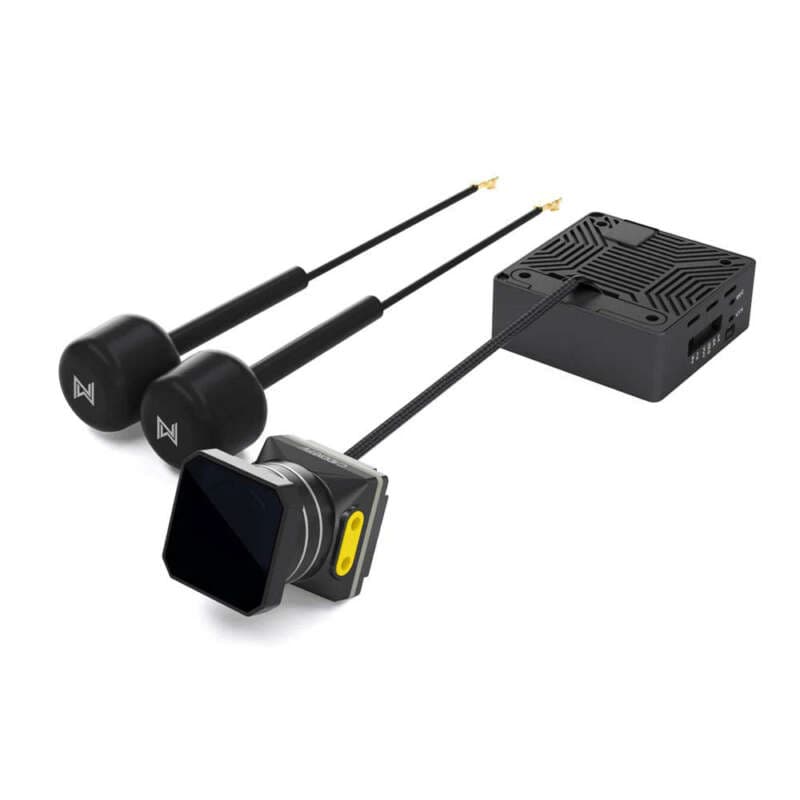
| DJI O4 Lite | 1080p @ 60/100fps | 24 - 32 ms (Adaptive) | Bitrate scaling → frame drop | ~14g - 18g | Freestyle, park cruising, cinematic exploration |
| Walksnail Avatar | 1080p / 4K Moonlight | 22 - 38 ms (Variable) | Macroblocking → latency spike | 16g - 28g | Full Betaflight canvas OSD, standalone 4K recording |
| HDZero | 720p @ 60/90fps | 14 - 17 ms (Fixed) | Digital confetti / rainbow pixels | 5g - 14g | Pure competitive drone racing & low-latency tracks |
👓 Hands-On with DJI Goggles N3: The Budget Digital Disruptor
Until recently, entering the DJI digital ecosystem required buying Goggles 2 or Goggles 3 (priced significantly above ₹45,000). The DJI Goggles N3 changes the rules by adopting a spacious single LCD panel architecture:
- Room for Eyeglasses: Because of the unified internal optics, there is no need to purchase custom diopter prescription lenses. You can wear your everyday reading or distance glasses comfortably inside the mask.
- Integrated Anti-Fog Defogger: A built-in micro turbine fan circulates warm air across the display, preventing lens fogging in humid Indian mornings or monsoon sessions.
- 54° Field of View: The wide immersive panoramic view feels expansive, matching the cinema-like experience of premium headsets.
- Battery Headband Integration: Uses an integrated rear headband battery for balanced front-to-back weight distribution with up to 2.7 hours of continuous flight runtime.
🎮 Why the DJI FPV Remote Controller 3 Matters
One of the most overlooked advantages of running the DJI O4 ecosystem is the integrated control link:
When you fly analog or Walksnail, your drone requires two separate wireless devices: a video transmitter (VTX) and a radio receiver (like an ExpressLRS 2.4GHz receiver). That means extra soldering pads, routing extra antennas, and binding two independent links.
💡 Workshop Pro-Tip: The All-in-One RC Link
The DJI O4 Air Unit has a built-in receiver that communicates directly with the DJI FPV Remote Controller 3 through the same antenna that transmits 1080p video. By soldering a single SBUS wire from the O4 unit to your flight controller, you eliminate the need for a separate ELRS receiver entirely. This saves 2 grams of weight, frees up a valuable UART port on your flight controller, and simplifies field setup.
🛠️ Flight Controller Wiring: 3 Critical Bench Rules
Wiring up a digital air unit is straightforward, but making any of these three rookie mistakes can fry your ₹15,000 VTX in milliseconds:
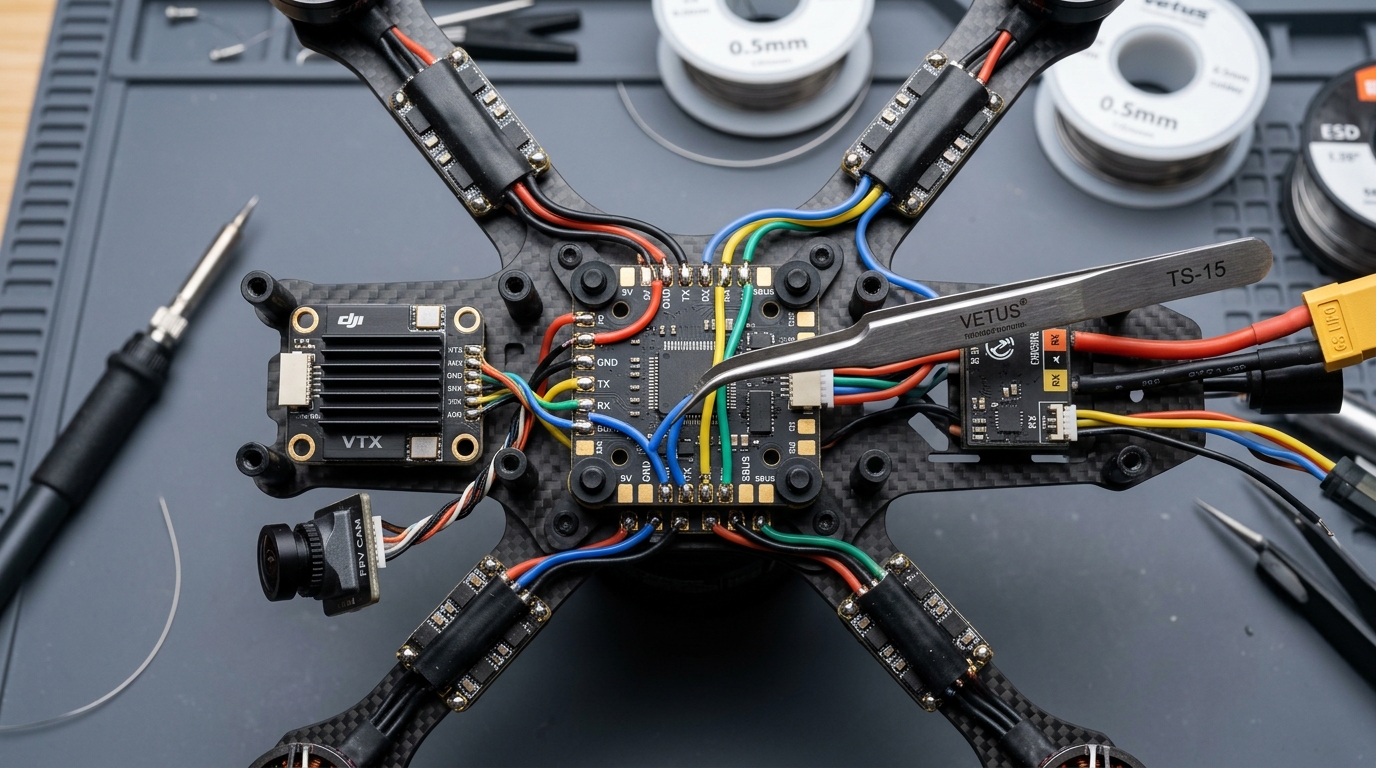
1. Never Tap Raw VBat on 6S Builds
While the O4 unit accepts voltage from 7.4V to 26.4V, brushless motor braking creates severe voltage voltage spikes (inductive voltage kickback) that can exceed 35V during high-throttle flips. Always power your digital VTX from a dedicated 9V or 10V BEC pad (minimum 2A) on your flight controller, backed by a 35V 1000µF Low-ESR capacitor on the main battery leads.
2. Cross Your TX and RX Wires
Remember standard serial protocol rules:
VTX TX→ Solder toFC RX (UART X)VTX RX→ Solder toFC TX (UART X)GND→ Solder to clean analog/digital GroundSBUS(optional if using DJI RC 3) → Solder to dedicatedSBUS / Inverted RXpad
3. Enable MSP DisplayPort in Betaflight
To see your live battery voltage, current draw, flight mode, and timer in high-definition digital text inside your Goggles N3, open the Betaflight Configurator:
- Navigate to the Ports tab.
- On the UART you wired the VTX to, set Peripherals to
VTX (MSP + Displayport). - In the OSD tab, select
HD / Canvas Mode.
🎯 The Verdict: Which System Should You Choose?
- Choose Analog if: You are building micro whoops (like 65mm or 75mm indoor quads) where every gram counts, or if you want 4 complete quads on a strict student budget.
- Choose DJI O4 + Goggles N3 if: You want the absolute highest video clarity, effortless integration with the Remote Controller 3, glass-friendly goggle comfort, and confidence flying through tight forest tree lines without eye strain.
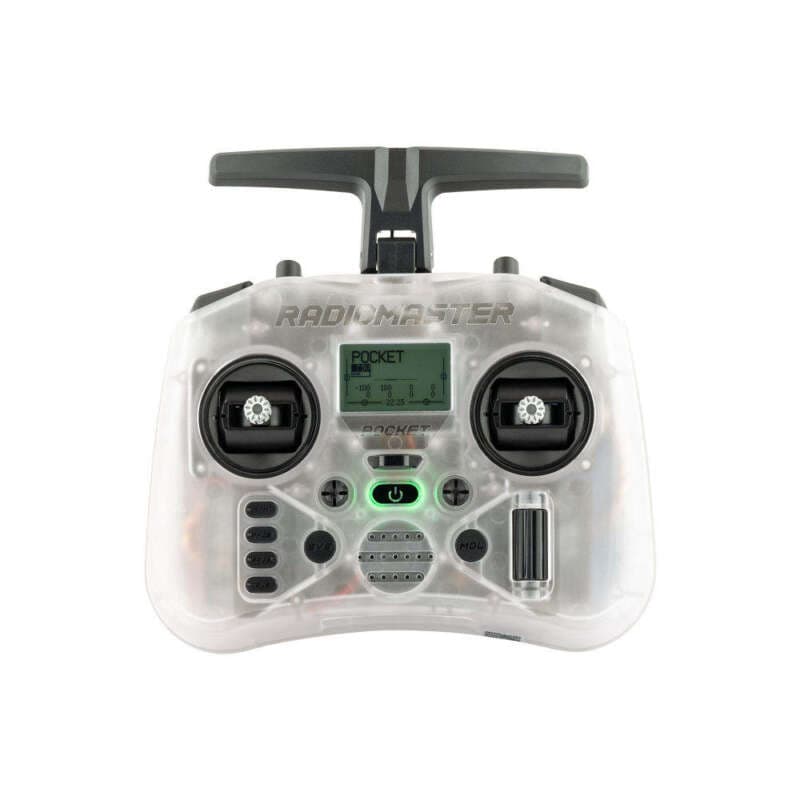
- Choose Walksnail Avatar if: You demand full open-source OSD customisation, want night-flying capability with the Moonlight 4K starlight sensor, and prefer using an external open-source radio like the Radiomaster Pocket ELRS.
Engineering Discussions
0 CommentsTechnical troubleshooting, firmware questions, and builder notes from the Superb Tech community.